
A stiff crank, a handle that spins without opening the sash, or a lock that won't catch properly all point to the same thing: the hardware on your top-hinged awning window has worn out. Finding the right hardware for awning windows gets confusing fast, because operators, cranks, handles, and locks vary by brand, age, and window profile, and a part that looks right often isn't compatible with your frame.
This guide sorts out exactly which awning window parts you need and how to identify them before you buy, whether you're dealing with a snapped crank arm, a corroded operator, or old awning window hardware that the manufacturer no longer stocks. You'll learn how to match replacement components to your existing setup instead of guessing.
We'll walk through the main components (operators, cranks, handles, and locking mechanisms), how to spot awning window hardware replacement signs early, and when swapping parts makes more sense than replacing the whole window. If your hardware is beyond repair, we'll also explain how professionally installed awning windows from a factory-direct manufacturer like MK Windows and Doors can solve the problem for good.
Why awning window hardware wears out over time
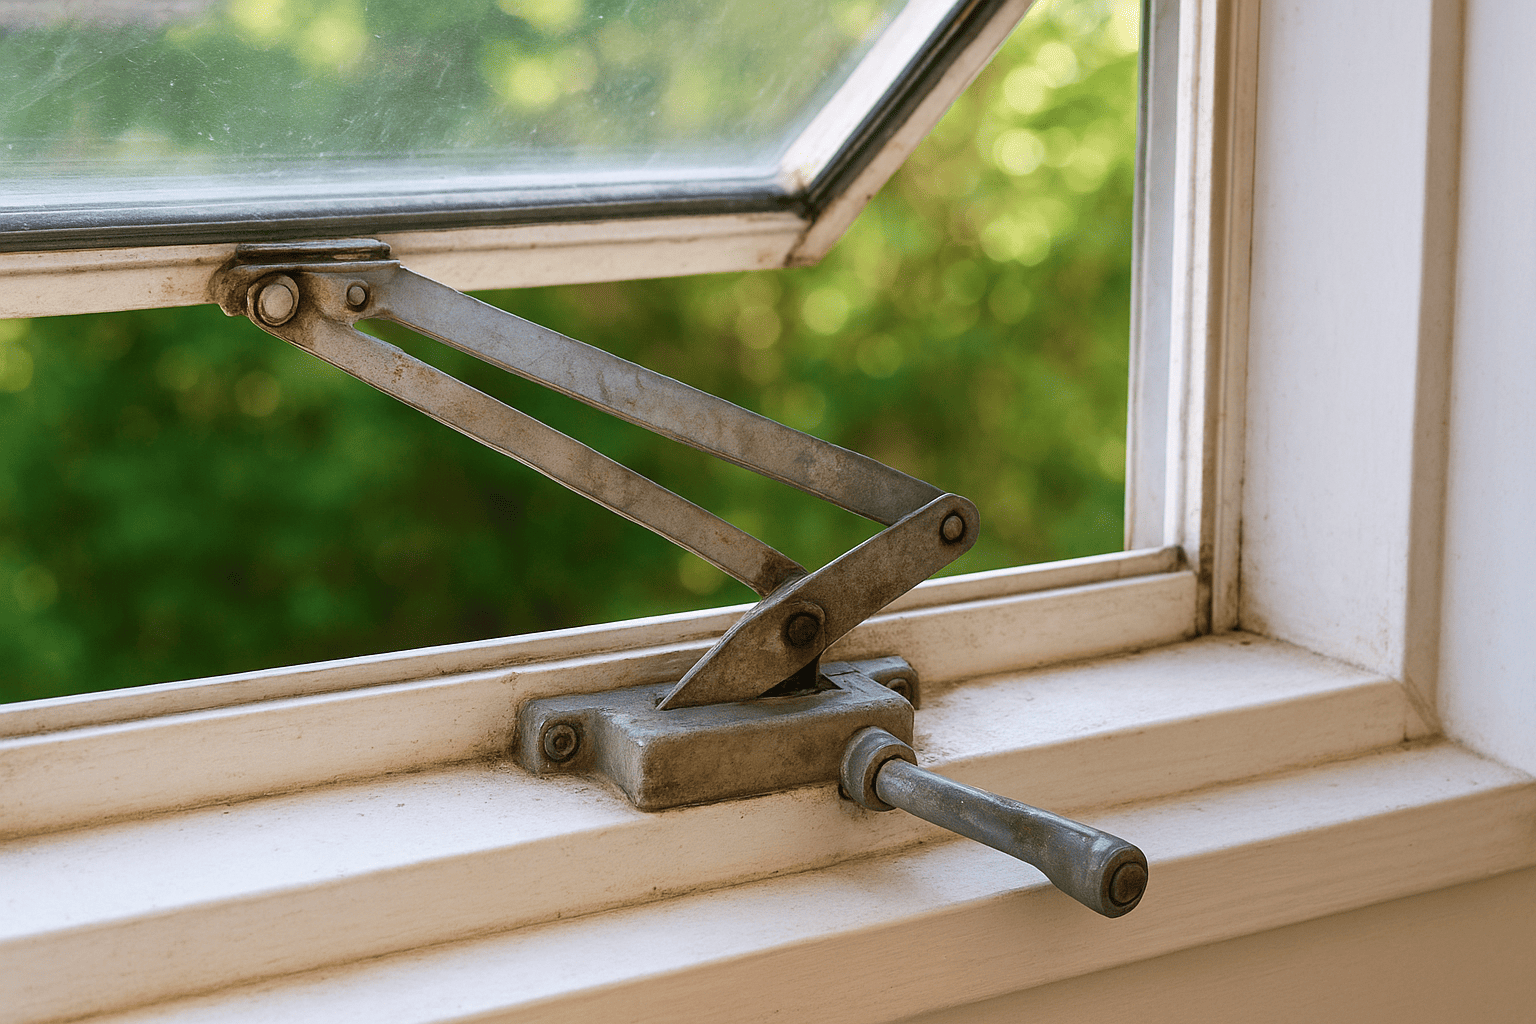
Every time you crank open an awning window, a small gear mechanism turns a scissor arm that pushes the sash outward. That motion looks simple, but it puts real strain on metal parts every single day. Over years of use, mechanical wear combines with weather exposure to break down even well-made awning window operator parts, which is why hardware failure is one of the most common repair calls for older homes across Ontario.
Constant mechanical stress on moving parts
Gears, scissor arms, and friction hinges are built to handle thousands of open-close cycles, but they're not indestructible. Kitchens, bathrooms, and basement awning units tend to see the heaviest use because those windows get opened for ventilation daily. Each cycle wears the teeth on the gear track slightly, and once enough material erodes, the crank mechanism starts slipping instead of engaging. That's usually the first sign homeowners notice: the handle spins freely but the sash barely moves.
Ontario's climate takes a toll
Cold winters and humid summers are hard on any exterior hardware, and awning windows sit directly in the weather every time they're opened. Freeze-thaw cycles force moisture into tiny gaps around the operator housing, and that moisture leads to rust on steel components and pitting on lower-grade zinc parts. Corrosion doesn't just look bad, it seizes moving joints and makes cranks feel gritty or stuck long before the rest of the window shows its age.
Weather, not age alone, is usually what finishes off awning window hardware.
Lack of lubrication and debris buildup
Dried-out grease, pollen, dust, and old paint overspray all collect inside the crank housing and along the scissor arm track. Without regular cleaning, this buildup turns into a paste that stiffens the mechanism and accelerates wear on the parts trying to push through it. A little silicone-based lubricant applied once or twice a year prevents most of this, but many homeowners never think to do it until the window is already hard to operate.
| Cause | Common Symptom | Typical Timeline |
|---|---|---|
| Repeated daily use | Crank spins without opening sash | 8-15 years |
| Moisture and corrosion | Gritty, stiff, or seized operator | 5-10 years |
| Dirt and dried lubricant | Sluggish or jerky motion | 2-5 years without maintenance |
| Discontinued parts | No exact replacement available | Varies by brand and age |
Outdated designs and discontinued parts
Manufacturers change operator designs every few years, which means old awning window hardware from a window installed in the 1990s or early 2000s often no longer has a direct match on the market. Homeowners searching for awning windows replacement parts for a discontinued brand sometimes spend weeks hunting down a compatible operator, only to find a universal part that fits poorly or wears out again within a year. At that point, replacing the entire sash mechanism, or choosing a replacement awning window, usually costs less time and frustration than chasing obsolete parts.
How to identify the right replacement hardware
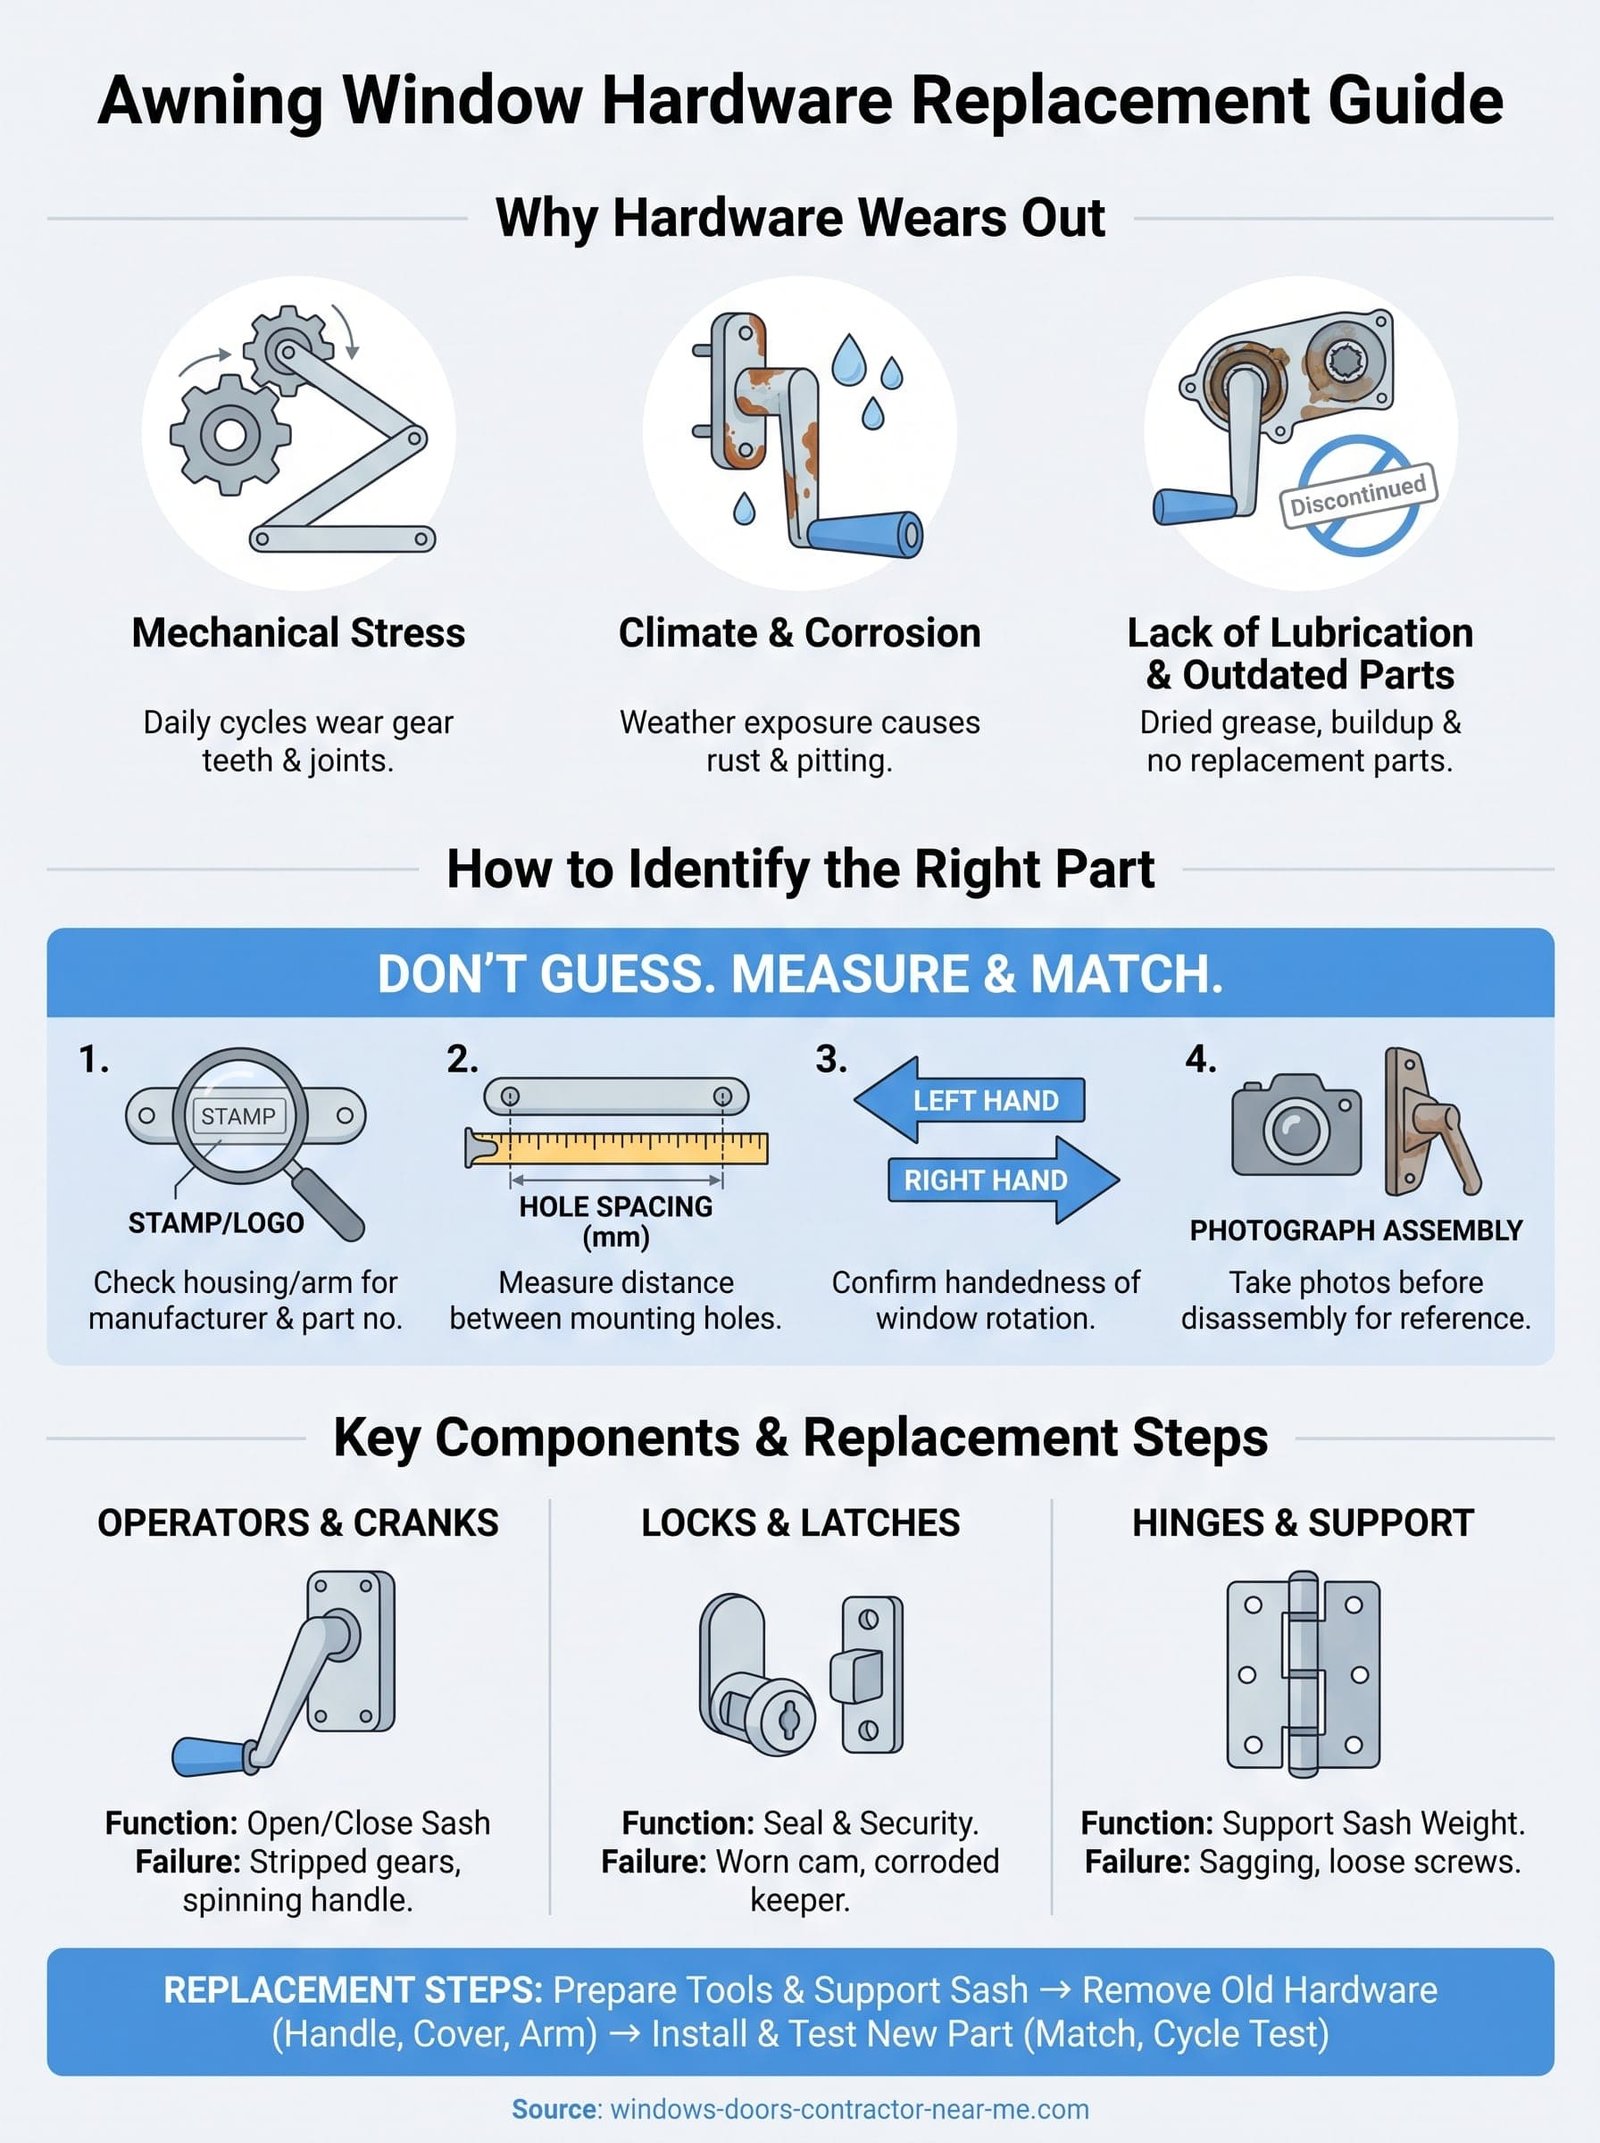
Before you order anything, grab a tape measure and the old part itself, because guessing at awning window hardware replacement almost always ends in a part that doesn't fit. Manufacturers stamp identification numbers on the operator housing, the crank handle base, or the scissor arm, and that stamp is your fastest route to a correct match. If the stamp has worn off, measure the distance between mounting screw holes, the length of the scissor arm when fully extended, and whether the gear box sits on the left or right side of the frame.
Handedness matters more than most homeowners expect. Awning window cranks are built for a specific rotation direction, and an operator meant for a left-hand window won't engage properly on a right-hand one, even if every measurement matches. Take a photo of the assembly from a few angles before removing anything, since that reference makes it far easier to confirm you've picked the correct part once it arrives.
A stamped part number saves more time than any amount of guesswork at the hardware counter.
Use this checklist before buying:
- Record the manufacturer name or logo stamped on the housing or arm
- Note the part number, if visible, even if partially worn
- Measure hole spacing on the mounting plate in millimetres
- Confirm whether the window opens left-handed or right-handed
- Check the finish (white, bronze, satin nickel) against your existing trim
- Photograph the assembly before disassembly
Sizing errors are the most common reason awning window hardware parts get returned. A scissor arm that's a few millimetres too long won't let the sash close flush, and a crank with the wrong gear ratio can strip within weeks. If you can't find an exact match for old awning window hardware, a universal operator can work as a stopgap, but expect a shorter lifespan than an OEM part. When identification becomes more trouble than it's worth, a quick call to a supplier like MK Windows and Doors gets you a proper assessment instead of another mismatched part sitting in a drawer.
Key awning window parts: cranks, locks and hinges
Every awning window relies on three hardware groups working together, and knowing what each one does makes troubleshooting far easier. The operator and crank open and close the sash, the lock and latch hold it sealed against the frame, and the hinges let the sash swing outward without binding. Weakness in any one of these throws off the whole system, which is why a full inspection beats replacing a single part and hoping for the best.
Operators and cranks
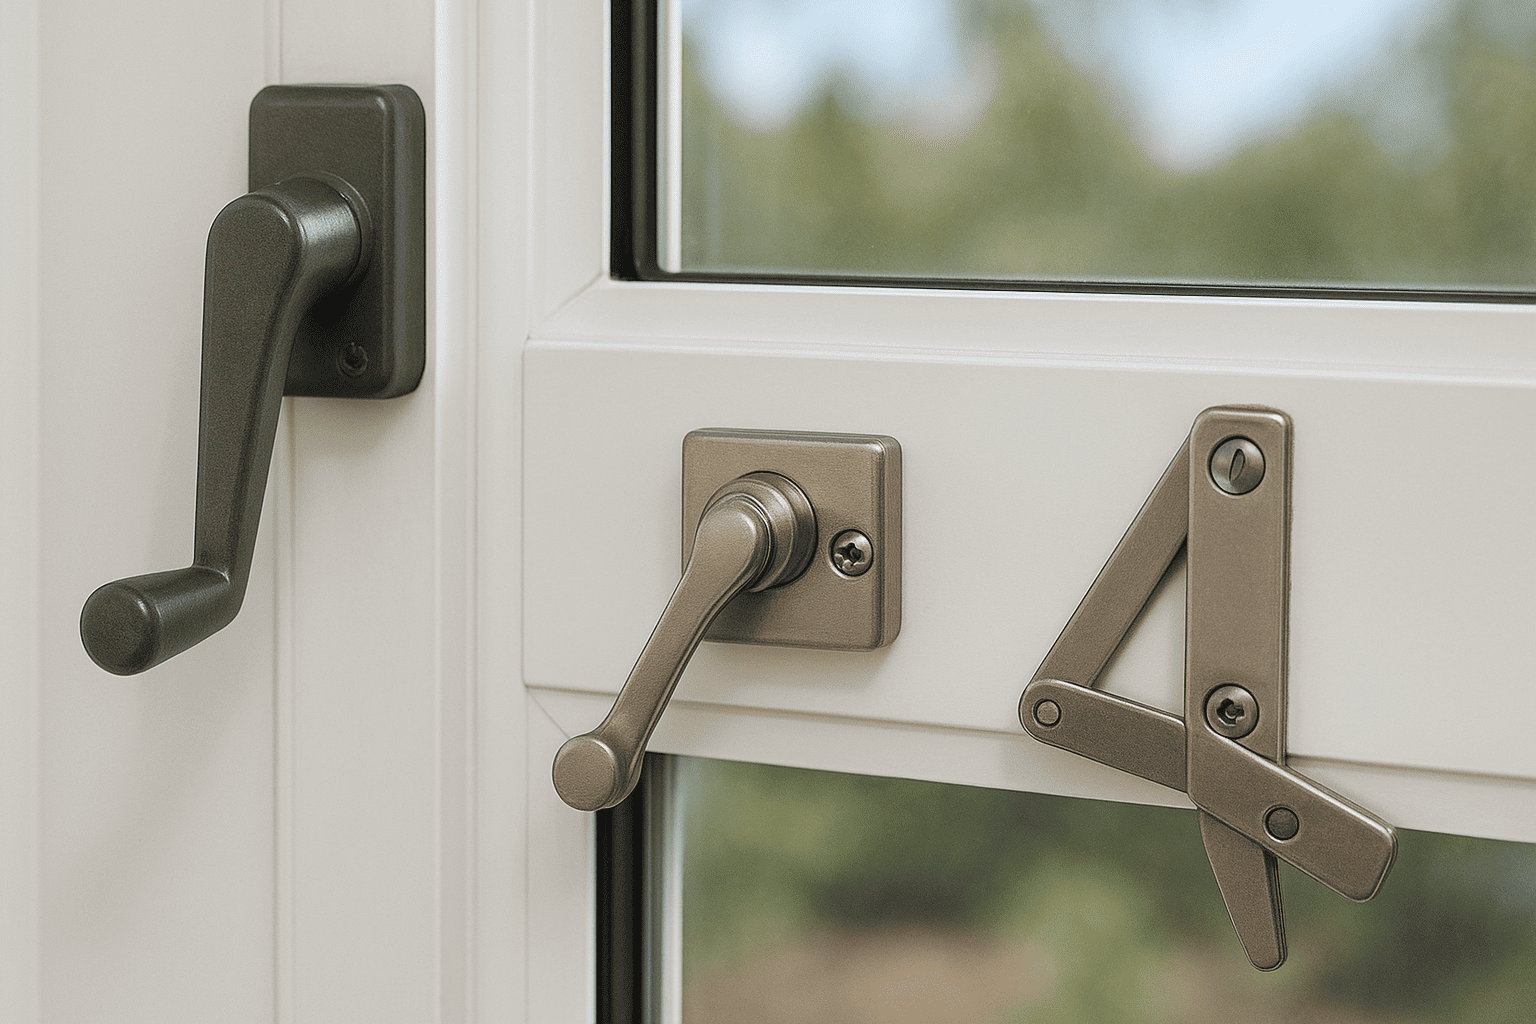
Operators house the gear mechanism that translates a turning handle into the scissor arm's push, the same crank operator design used on casement windows. Awning window cranks come in low-profile, standard, and extended-reach styles, and the handle itself can be a folding crank, a cast metal knob, or a lever depending on the manufacturer and decade. When the gear teeth strip, the handle spins but the sash stops responding, which is the clearest signal the operator itself needs replacing rather than just the handle.
Locks and latches
A window that won't lock tight is a security gap, not just an inconvenience.
Locking hardware ranges from simple cam locks to multi-point window locks that pull the sash flush against the frame at two or three points. Awning window lock hardware wears through repeated tightening and, on older units, through corrosion around the keeper. A cam lock that no longer catches usually means the keeper has shifted or the cam itself is worn smooth, not that the whole sash is misaligned.
Hinges and corner joints
Hinges carry the physical weight of the sash every time it opens, and they take the brunt of any sag over the years. Friction hinges hold the sash at a set angle without a separate stay arm, while pivot hinges work alongside the operator's scissor arm for support.
| Part | Function | Common Failure |
|---|---|---|
| Operator/crank | Opens and closes sash | Stripped gears, loose handle |
| Lock/latch | Seals sash against frame | Worn cam, corroded keeper |
| Hinge | Supports sash weight | Sagging, loosened screws |
Diagnosing which group has failed narrows down the shopping list considerably before you even start measuring parts.
How to replace awning window hardware safely
Swapping out worn hardware is a manageable DIY job for most homeowners, provided you work through it in the right order and don't force anything that resists. Rushing the removal step is where most awning window hardware replacement attempts go wrong, since stripped screws and cracked sash frames turn a simple swap into an expensive one. Take your time, keep the sash supported, and you'll avoid the two mistakes that cause the most damage.
Preparing the window and tools
Before touching a screwdriver, clean the track and hinge area with a soft brush to clear dried grease and debris that might hide a screw or a locking tab. Gather a set of Phillips and flathead screwdrivers, a small adjustable wrench, and the replacement part you've already confirmed matches your window's handedness and dimensions. Prop the sash open with a wedge or have a second person hold it steady, because an unsupported sash can swing shut on your fingers the moment the old operator releases its grip.
Removing the old hardware
Work through removal in this order to avoid unnecessary strain on the frame:
- Close the sash fully and release any locking mechanism
- Remove the crank handle first, then the operator cover screws
- Detach the scissor arm from the sash track before unbolting the operator body
- Set screws aside in order, since reusing the wrong length can crack the vinyl frame
Forcing a seized part rarely saves time and often cracks the frame around it.
Installing and testing the new part
Secure the new awning window hardware with the same screw pattern, tightening gradually rather than in one motion to keep the mounting plate seated evenly. Cycle the crank through a full open-and-close motion before walking away, checking that the lock catches cleanly and the sash sits flush against the weatherstripping. If the new part binds or the handle feels rough after installation, stop and recheck the handedness and screw spacing rather than lubricating your way past a mismatch.
Getting your awning windows moving smoothly again
Worn cranks, stiff operators, and locks that won't catch aren't things you need to live with. Once you can identify the part, measure it correctly, and match it to your window's handedness, replacing awning window hardware becomes a straightforward job rather than a guessing game. Sometimes a simple part swap solves it. Other times, especially with old awning window hardware from a discontinued line, the smarter move is upgrading the sash or the whole window rather than chasing parts that keep failing, and it helps to know what awning windows cost in 2026 before you decide.
If you've worked through this guide and still can't find a match, or you'd rather have a professional confirm the diagnosis before you spend on parts, don't keep forcing a mechanism that's already told you it's done. Book a free assessment with MK Windows and Doors for a proper diagnosis, factory-direct parts, or a full replacement built to handle Ontario winters for years to come.